Call Us: (207)-415-0219
Fence Installation: A Complete Guide
Complete Fence Installation Guide
Fences do more than just mark boundaries. They boost privacy, improve security, and add style to your property. Whether you’re protecting pets, keeping kids safe, or enhancing curb appeal, a well-installed fence transforms your outdoor space.
Installing a fence takes more than just putting up posts and panels. Careful planning, the right tools, and proper techniques are key to getting it right. Skipping steps or rushing the process can lead to wobbly posts, misaligned panels, or even boundary disputes with neighbors.
This guide gives you everything you need to know to install a fence. Whether you’re planning a DIY project or bringing in a professional, follow these steps to make sure your fence stands strong and looks great for years.
Planning Your Fence Installation
Proper planning is the foundation of a successful fence installation. Taking time to prepare ensures your fence meets your needs and complies with local regulations. Skipping this step can lead to costly mistakes, so let’s break it down.
Assessing Your Needs
Before you start, think about what you want your fence to accomplish.
Privacy: Do you want to block views from neighbors or passersby?
Security: Are you looking to keep pets in or unwanted visitors out?
Aesthetic Appeal: Does the design complement your home’s style?
Understanding your goals will help you choose the right type of fence and avoid wasting time or money on unnecessary features.
Choosing the Right Fence Material
The material you choose impacts the fence’s durability, appearance, and maintenance needs. Consider these popular options:
Wood: Classic, versatile, but requires regular upkeep to prevent rot.
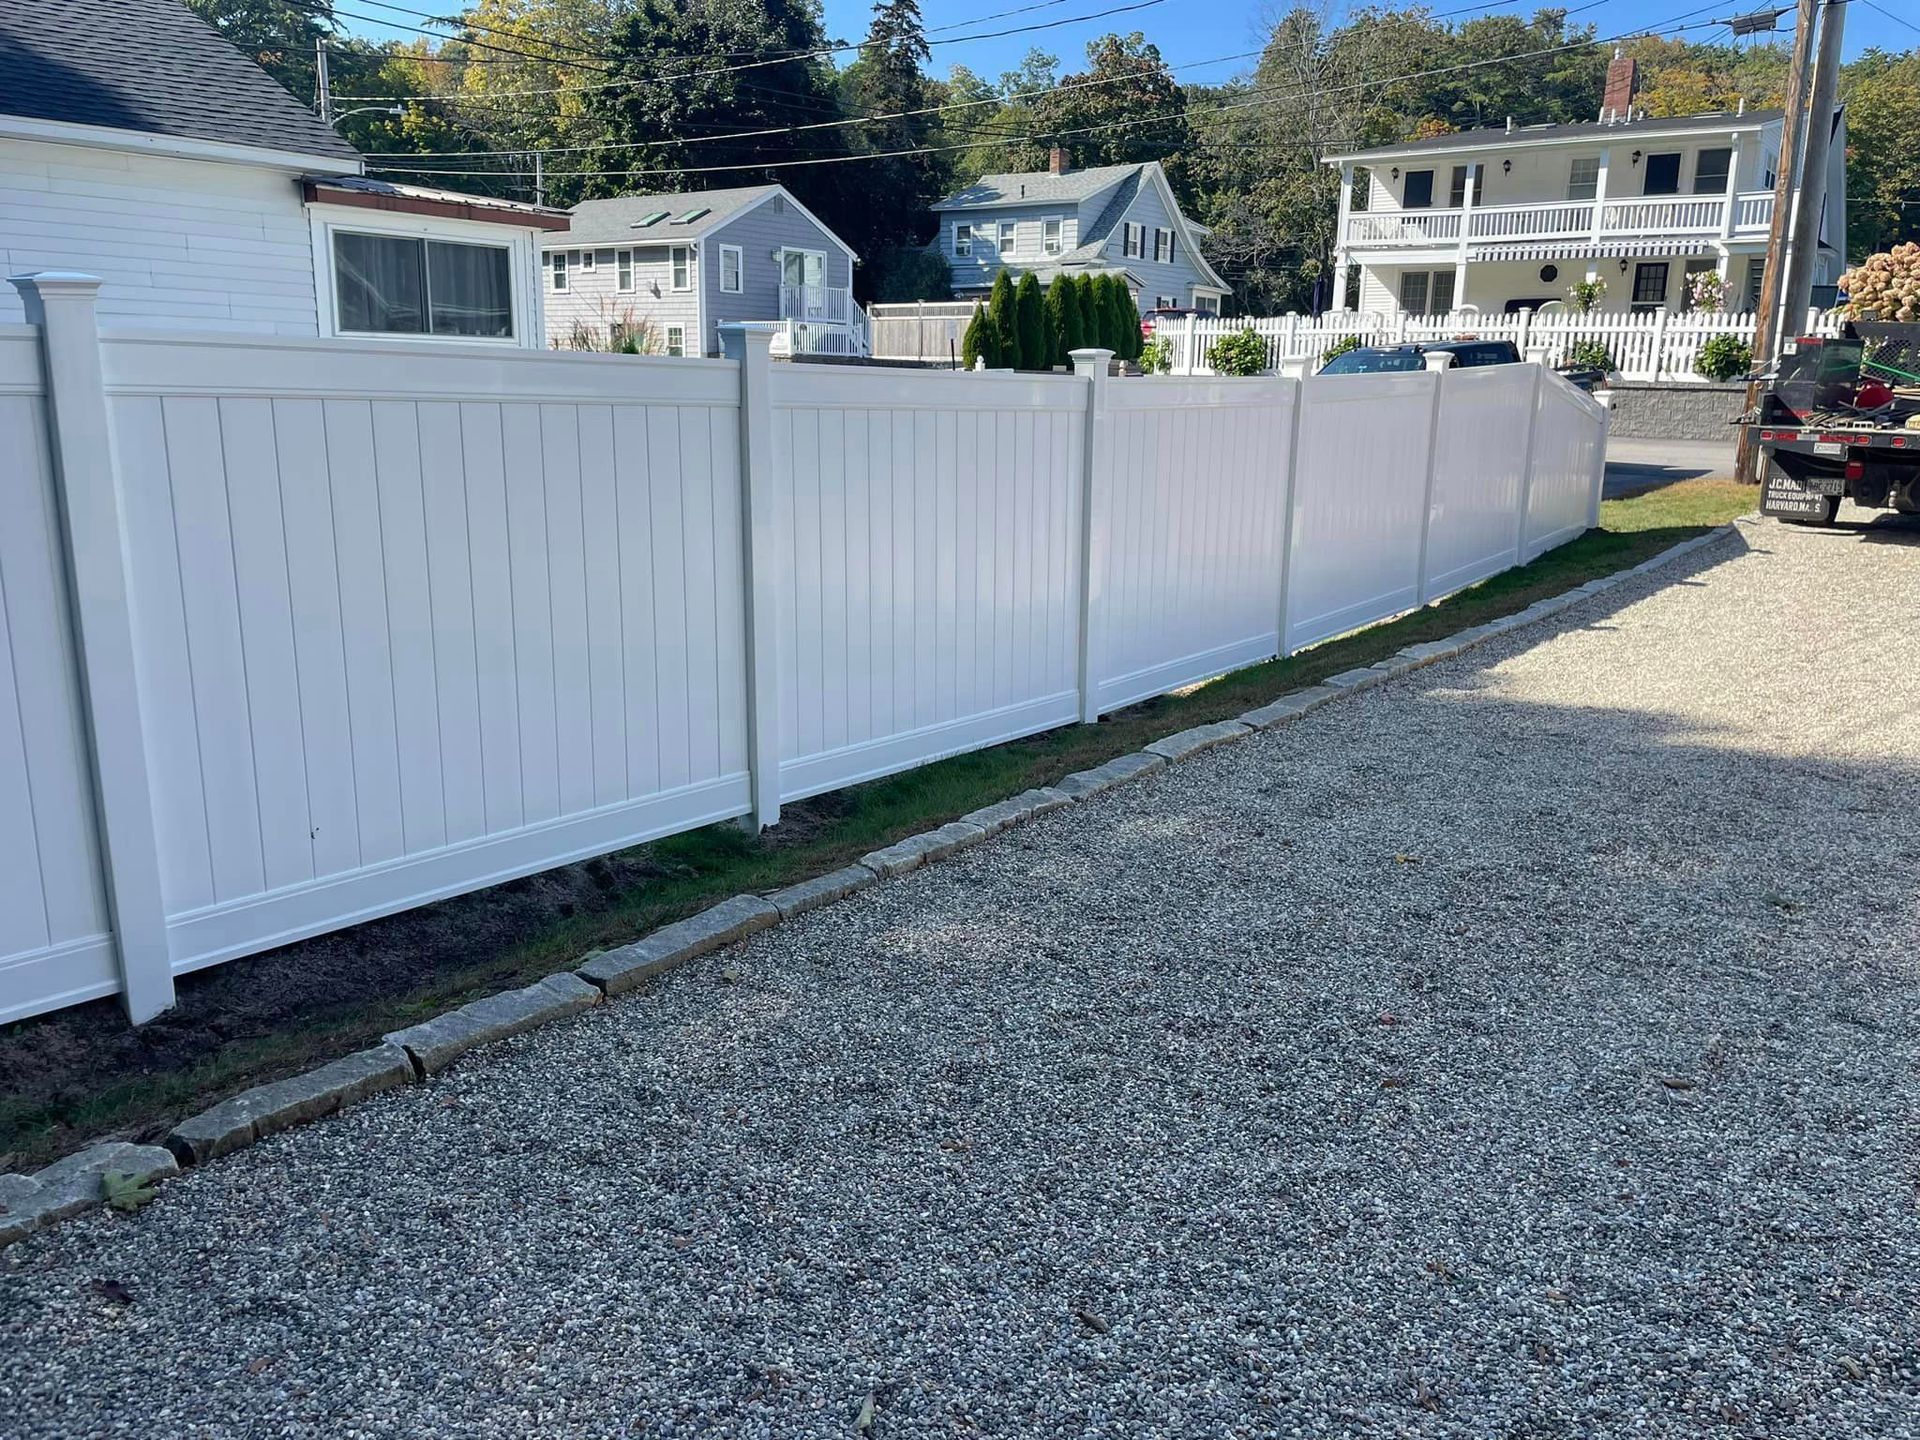
Vinyl: Low-maintenance and weather-resistant, but more expensive upfront.
Aluminum: Durable and lightweight, great for decorative purposes.
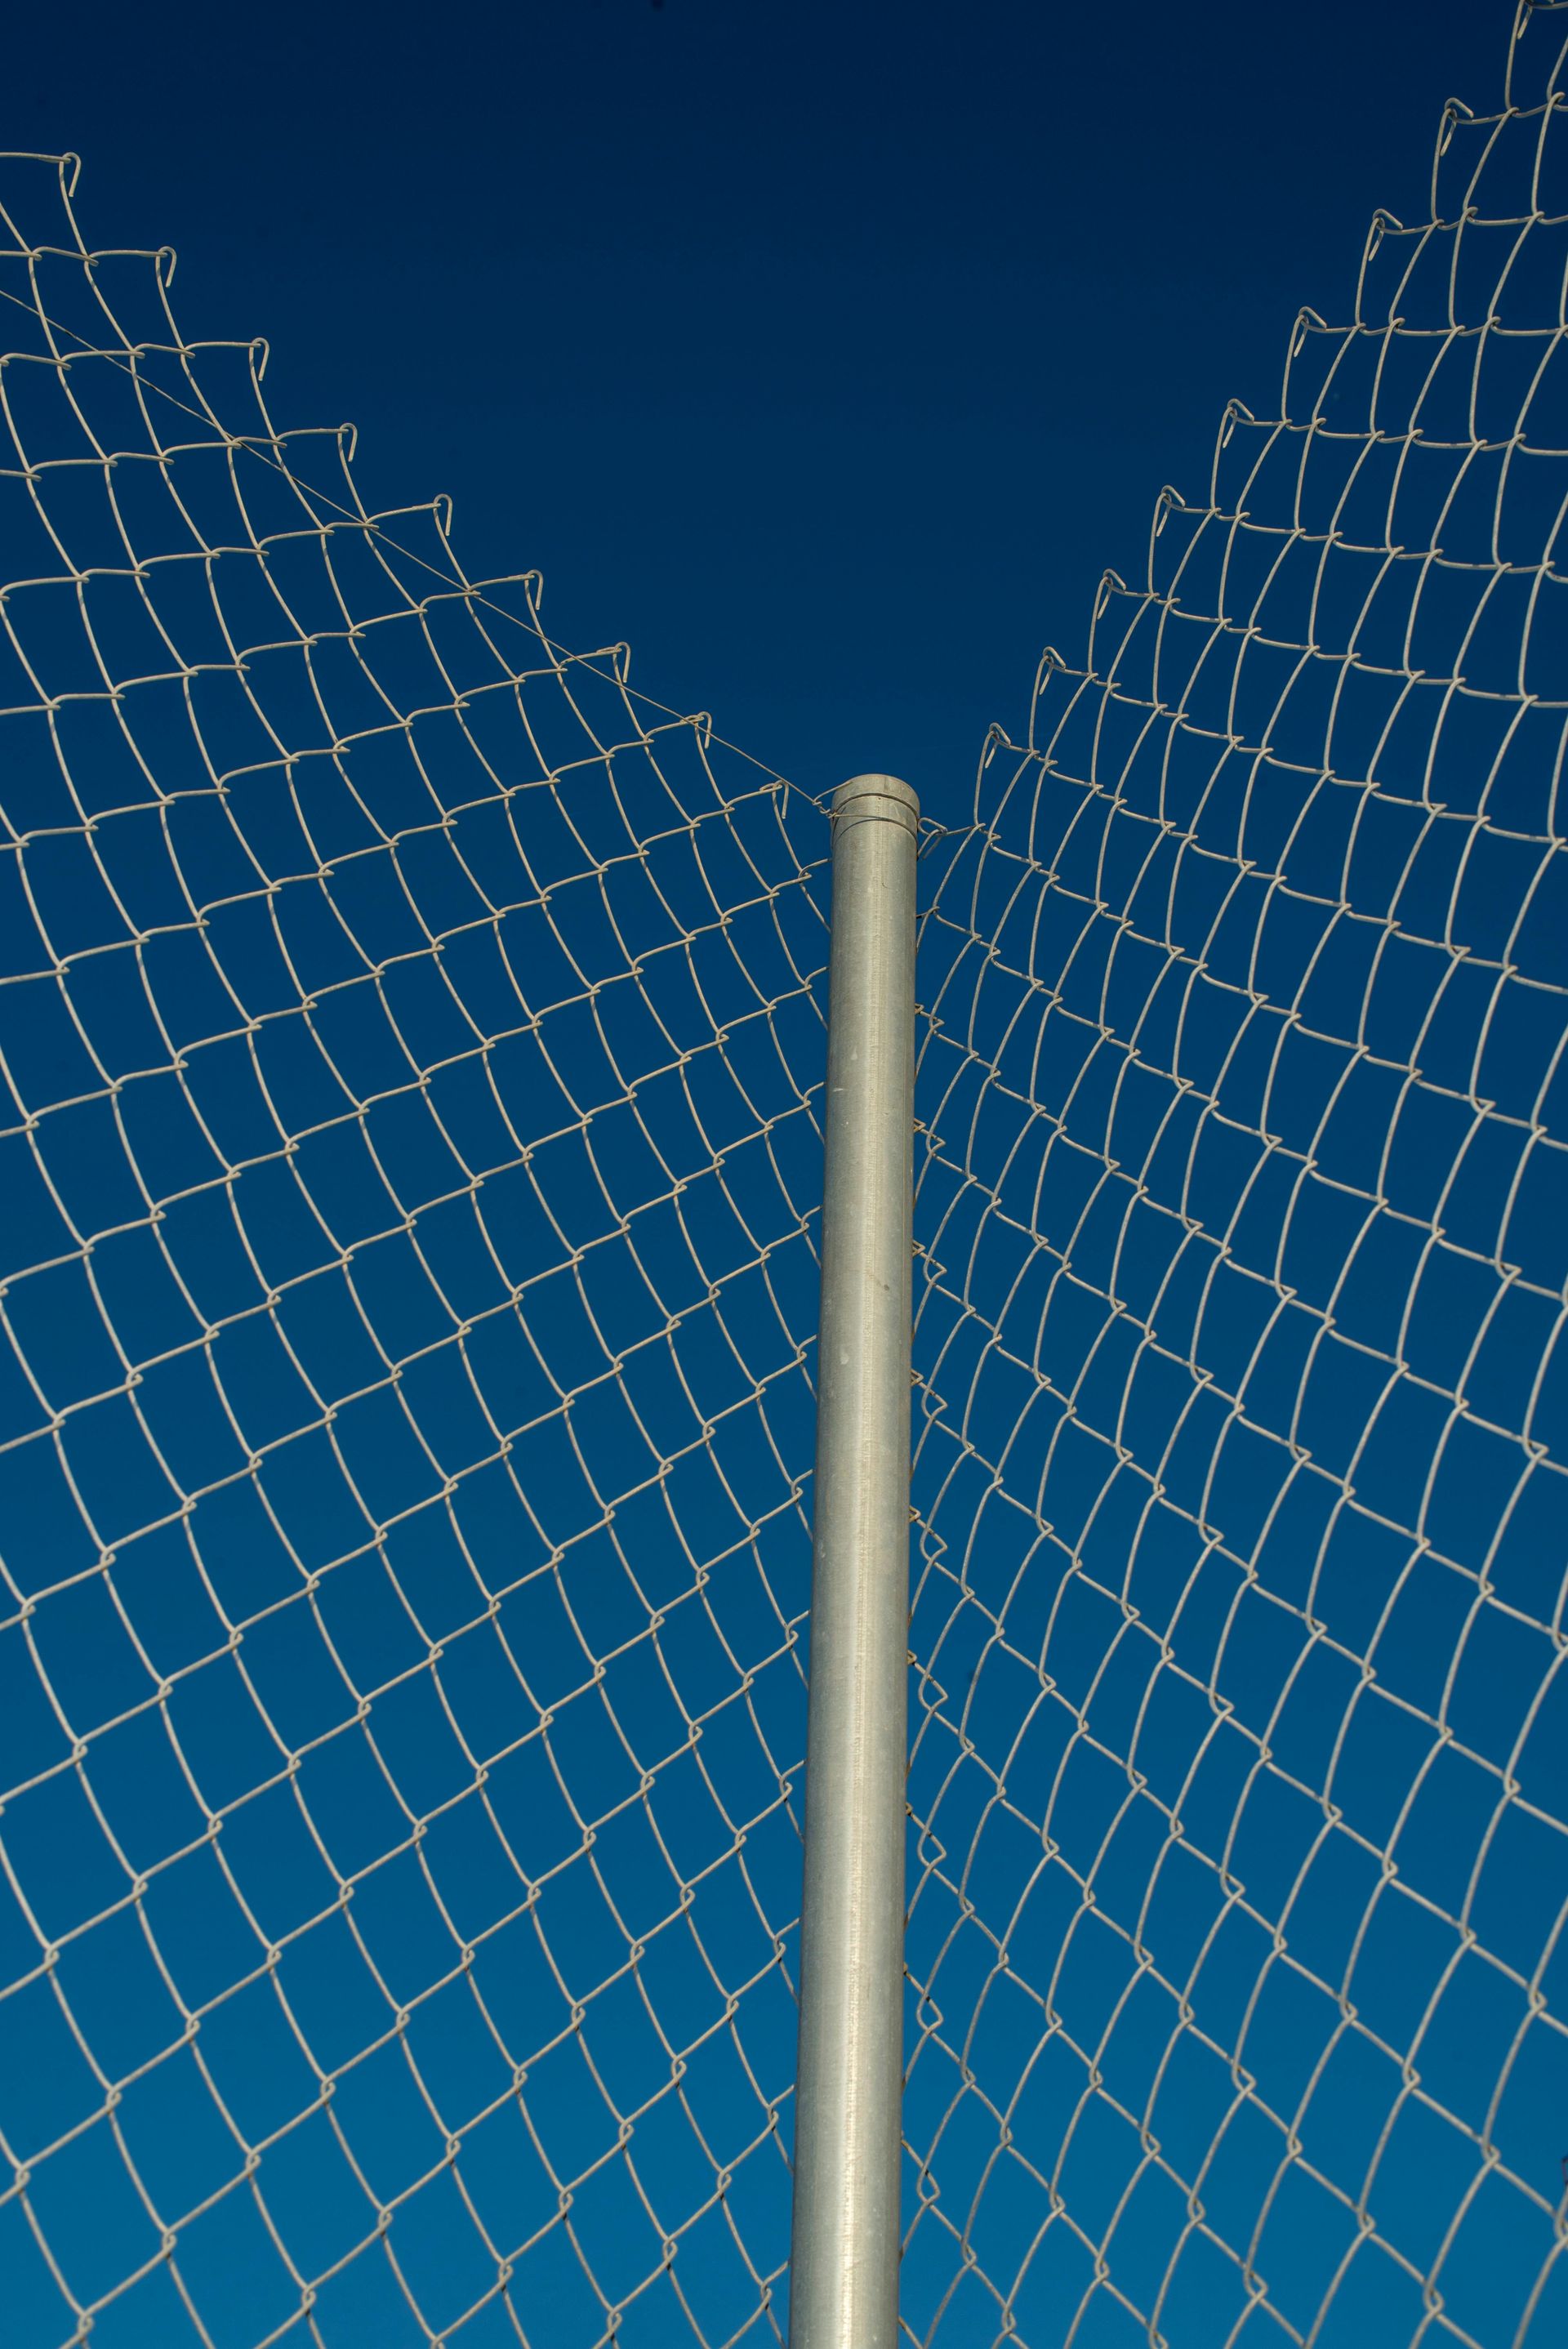
Chain-Link: Affordable and functional, but not ideal for privacy.
Composite: Eco-friendly and long-lasting, combining the benefits of wood and plastic.
Match your material to your priorities. If you live in an area with extreme weather, prioritize durability. If you value aesthetics, choose a material that enhances your home’s look.
Checking Local Zoning Laws and Permits
Before you dig, check the rules. Most cities have specific zoning laws, height restrictions, and permit requirements for fences.
- Contact your local municipality or homeowners’ association (HOA) for guidelines.
- Get the necessary permits to avoid fines or having to tear down your fence later.
- Understand setback requirements, which dictate how close your fence can be to property lines.
Being proactive saves you from future headaches and ensures your project stays legal.
Marking Property Lines
Knowing your property lines is crucial. Installing a fence on a neighbor’s land can cause disputes or even legal action.
- Review your property survey to identify boundaries.
- If unsure, hire a surveyor for accuracy.
- Mark the boundaries clearly before starting the installation.
Taking these steps guarantees your fence is in the right place and keeps relationships with neighbors intact.
Tools and Materials Needed for Fence Installation
Having the right tools and materials on hand makes your fence installation faster and easier. Whether you’re doing it yourself or helping a contractor, being prepared ensures the project goes smoothly and avoids unnecessary delays.
Essential Tools for DIY Installation
Here’s a list of tools you’ll need to get the job done:
- Post Hole Digger or Auger: For digging holes to secure fence posts.
- Level: To ensure posts and panels are straight.
- Tape Measure: For accurate measurements.
- Hammer or Nail Gun: For attaching panels or boards.
- Power Drill: For securing screws and bolts.
- Shovel: To clear debris and adjust the ground.
- String Line and Stakes: To mark a straight installation path.
- Concrete Mixer: For setting posts firmly in place.
If you don’t own these tools, consider renting larger equipment like augers or concrete mixers to save costs.
Material Checklist for Different Fence Types
The materials you need depend on the type of fence you’re installing. Here’s a breakdown for common fence types:
Wood Fence:
- Fence posts, rails, and pickets
- Galvanized nails or screws
- Stain or paint for weather protection
Vinyl Fence:
- Prefabricated panels and posts
- Brackets and screws
- Adhesive for securing components
Chain-Link Fence:
- Steel posts and rails
- Chain-link mesh rolls
- Tension bars, wire, and clips
Aluminum or Wrought Iron Fence:
- Pre-assembled panels
- Posts with brackets or mounting hardware
- Rust-resistant screws or bolts
Double-check your material list before starting to avoid last-minute trips to the hardware store.
Renting vs. Buying Equipment
If you don’t plan on installing fences regularly, renting tools is often the smarter choice. Many home improvement stores offer rentals for power tools, augers, and other specialized equipment.
Renting: Cost-effective for occasional use, especially for expensive tools like concrete mixers.
Buying: Better if you’ll reuse the tools for future projects.
Make a list of what you need, then compare rental prices to purchase costs to decide the best option for your project.
Fence Installation Step-by-Step Process
Installing a fence requires careful attention to detail. Follow these steps to ensure your fence is sturdy, level, and long-lasting.
Step 1: Preparing the Ground and Marking Post Holes
- Clear the Area: Remove debris, rocks, and plants from the installation zone. If the ground is uneven, level it as much as possible.
- Mark Your Fence Line: Use stakes and string to outline where the fence will go. This keeps your installation straight.
- Plan Post Spacing: Measure and mark the locations for each post. Standard spacing is 6 to 8 feet apart, depending on the material and design.
Taking your time to prep ensures an accurate and smooth installation.
Step 2: Digging Post Holes and Installing Fence Posts
- Dig the Holes: Use a post hole digger or auger to create holes. Holes should be one-third the length of the post and slightly wider than the post diameter.
- Add Gravel: Pour a layer of gravel (about 4-6 inches) at the bottom of each hole for drainage.
- Set the Posts: Place the posts in the holes and fill them with quick-setting concrete. Check each post with a level to make sure it’s straight.
- Let the Concrete Cure: Allow the concrete to set for at least 24 hours before attaching rails or panels.
Secure posts are the foundation of a strong fence, so don’t rush this step.
Step 3: Attaching Rails, Panels, or Boards
- Install Horizontal Rails: For wood or vinyl fences, attach the rails between the posts. Use screws or brackets for a firm connection.
- Attach Panels or Boards: Depending on the style, secure panels to the rails or boards directly to the posts. Start from one end and work systematically to maintain alignment.
- Check Alignment: Use a level frequently to ensure the fence stays straight and even.
Work slowly and double-check as you go to avoid costly mistakes.
Step 4: Securing the Fence for Durability
- Reinforce Posts: Add additional screws or brackets for extra support if needed.
- Install Tension Wires: For chain-link fences, attach tension wires along the bottom and top to maintain structure.
- Secure Gates: Add hinges and latches to your gate and ensure it opens and closes smoothly.
Reinforcing the fence at each step ensures it can handle wind, weight, and wear over time.
Step 5: Adding Gates and Finishing Touches
- Hang the Gate: Position the gate so it swings freely and matches the height of the fence. Adjust as needed for a snug fit.
- Add Finishing Touches: For wood fences, apply a weatherproof sealant, stain, or paint. Vinyl and metal fences may only need a quick cleaning.
- Inspect Your Work: Walk along the fence to check for loose parts, uneven sections, or areas that need adjustment.
Completing these final steps gives your fence a polished and professional look.
Common Fence Installation Mistakes and How to Avoid Them
Even with the best plans, mistakes can happen during fence installation. Knowing the common pitfalls helps you avoid them and ensures a smooth process.
Incorrect Measurements
One of the most common mistakes is miscalculating the length of the fence or spacing between posts.
- What Happens: Panels or boards won’t fit properly, leading to gaps or overlaps.
- How to Avoid It: Double-check measurements for your fence line and post spacing. Always measure twice before cutting or installing anything.
Skipping the Permit Process
Ignoring local zoning laws or skipping the permit process can lead to major problems.
- What Happens: You may face fines or be forced to remove the fence entirely.
- How to Avoid It: Research local regulations and obtain any necessary permits before starting. If you’re part of an HOA, make sure your fence design complies with their rules.
Poor Post Placement and Anchoring
Fence posts are the backbone of your fence. Installing them incorrectly compromises the entire structure.
- What Happens: The fence may sag, lean, or collapse over time.
- How to Avoid It: Ensure posts are buried at the correct depth (one-third of their length) and anchored with concrete. Use a level to keep them straight during installation.
Using the Wrong Materials for Your Climate
Not all fencing materials are suitable for every environment.
- What Happens: Wood may rot in wet climates, or metal may rust in humid areas.
- How to Avoid It: Choose materials designed for your region’s weather. For example, use treated wood or vinyl in areas prone to moisture.
Neglecting to Mark Property Lines
Installing a fence without confirming property boundaries is a recipe for disputes.
- What Happens: You could encroach on a neighbor’s property or fail to cover your entire lot.
- How to Avoid It: Review property surveys or hire a professional surveyor. Clearly mark boundaries before digging.
Rushing the Installation
Rushing leads to mistakes like uneven panels, unsecured posts, or skipped steps.
- What Happens: You’ll likely need to redo parts of the fence, costing you time and money.
- How to Avoid It: Take your time and follow each step carefully. Double-check your work as you go.
By avoiding these mistakes, you’ll save time, money, and frustration—and ensure your fence looks great and stands strong for years.
Maintaining Your Fence for Long-Term Durability
A well-maintained fence lasts longer and looks better over time. Regular care prevents damage, saves money on repairs, and keeps your fence in top condition.
Cleaning and Seasonal Care by Material Type
Different fence materials need specific care. Here’s how to keep your fence clean and damage-free:
Wood Fences:
- Wash annually with mild soap and water to remove dirt and mildew.
- Reseal or repaint every 2–3 years to protect against moisture and UV damage.
Vinyl Fences:
- Clean with a hose and non-abrasive cleaner to prevent discoloration.
- Check for cracks or warping after extreme weather.
Metal Fences (Aluminum, Wrought Iron):
- Inspect for rust spots and touch up with rust-resistant paint.
- Clean with water and a gentle scrub to prevent buildup.
Chain-Link Fences:
- Remove debris caught in the mesh regularly.
- Inspect for loose wires and tighten or replace them as needed.
Preventing and Fixing Rot, Rust, or Damage
Taking preventative steps reduces long-term wear:
- Prevent Rot (Wood Fences): Apply a waterproof sealant and keep the bottom of the fence away from soil to avoid moisture damage.
- Stop Rust (Metal Fences): Use a rust-inhibitor spray or paint designed for outdoor use.
- Repair Damage Quickly: Replace broken boards, tighten loose screws, or weld damaged metal parts before they worsen.
Tips for Extending the Life of Your Fence
- Trim Vegetation: Keep plants and vines from growing on your fence, as they can trap moisture and cause rot or rust.
- Inspect Annually: Check for structural issues like leaning posts, loose panels, or cracks. Fix problems early to prevent costly repairs.
- Weatherproof Regularly: Apply a fresh coat of paint or sealant before extreme weather seasons to protect the fence from harsh conditions.
By staying on top of maintenance, your fence will remain strong and attractive for years to come.
When to Call Professionals for Fence Installation
Installing a fence can be a rewarding DIY project, but sometimes calling a professional is the smarter choice. Knowing when to bring in an expert saves you time, money, and frustration.
Recognizing Projects That Require Expert Assistance
Some fence installations are straightforward, but others can be tricky. Here are situations where hiring a professional is highly recommended:
- Uneven or Sloped Terrain: Installing a fence on uneven ground requires special techniques to ensure it’s level and secure.
- Complex Designs: Intricate designs like custom woodwork or ornamental metal fences need skilled craftsmanship.
- Large Projects: Installing a fence around a big property can be time-consuming and physically demanding for a DIYer.
- Utility Line Concerns: If the installation area has underground utilities, professionals can safely handle digging without causing damage.
Benefits of Hiring a Professional Fence Installer
Professionals bring experience and tools that make the process more efficient and reliable. Here’s why it’s worth considering:
- Expertise: They know how to handle challenges like difficult soil, tight spaces, or tricky property lines.
- Quality Workmanship: A professionally installed fence is more likely to be durable, properly aligned, and visually appealing.
- Time-Saving: Pros can complete the job faster, freeing you up to focus on other priorities.
- Warranty and Support: Many professional installers offer warranties on their work, giving you peace of mind.
Questions to Ask Before Hiring
Before you hire a fence installer, ask these key questions:
- Are you licensed and insured? This ensures they meet legal requirements and protects you from liability.
- What’s included in the estimate? Clarify whether it covers materials, labor, permits, and cleanup.
- Do you have references or a portfolio? Check reviews or past projects to verify their expertise.
- How long will the project take? Make sure their timeline fits your schedule.
Bringing in a professional can turn a challenging project into a hassle-free experience, especially for larger or more complex installations.
Cost Breakdown of Fence Installation
Understanding the costs involved in fence installation helps you plan your budget effectively. Several factors influence the total cost, from materials to labor and property size.
Factors That Influence Costs
The price of your fence installation depends on these key factors:
Material Choice:
- Wood: $10–$30 per linear foot, depending on the type of wood (e.g., pine, cedar, redwood).
- Vinyl: $20–$40 per linear foot for low-maintenance, weather-resistant fencing.
- Metal (Aluminum, Wrought Iron): $25–$50 per linear foot, offering durability and elegance.
- Chain-Link: $10–$20 per linear foot, a budget-friendly option for functional fencing.
Property Size and Fence Length:
Larger properties require more materials and labor, increasing overall costs.
Terrain and Soil Conditions:
Difficult terrain or rocky soil can make digging and post-setting more labor-intensive and expensive.
Customization and Extras:
Adding gates, decorative elements, or custom designs increases costs.
Labor Costs:
Hiring a professional typically costs $30–$70 per hour, depending on location and complexity.
Comparing DIY Costs vs. Professional Installation
DIY Costs:
- You’ll save on labor but must purchase or rent tools and materials.
- Ideal for simple fences or if you already have the necessary equipment.
Professional Installation Costs:
- While pricier, it guarantees quality and efficiency.
- Includes materials, labor, and often cleanup after the project.
For example, installing a 150-foot wooden privacy fence might cost:
- DIY: $1,500–$3,000
- Professional: $3,500–$7,000
Budgeting for Long-Term Maintenance
Factor in maintenance costs to ensure your fence stays in good shape:
- Wood Fences: Staining or sealing every 2–3 years ($200–$500).
- Metal Fences: Rust-proofing or repainting as needed ($100–$300).
- Vinyl Fences: Minimal maintenance costs, typically just cleaning supplies.
By understanding these costs, you can choose a fence that fits your needs and budget while planning for future upkeep.
Conclusion
Installing or repairing a fence is a smart investment that enhances your property’s security, privacy, and curb appeal. Whether you’re tackling a new fence installation or fixing an existing one, partnering with experts ensures a job well done.
For high-quality fence installation and repair services in Biddeford, ME, look no further than Seacoast Fence and Construction. Known for their craftsmanship and reliability, they specialize in wood, vinyl, chain link, and aluminum fencing, offering tailored solutions for both residential and commercial clients. Their commitment to using premium materials and delivering outstanding customer service makes them a trusted name in the local fencing industry.
Ready to transform your property with a durable and visually appealing fence? Contact Seacoast Fence and Construction today to schedule your consultation and experience the difference of working with a team that values professionalism and quality.